Preparing Your MacBook
Note: Failure to upgrade your MacBook to the right OS before restoring from the Time Machine can cause lots of problems. Here's how to avoid that:
- Once your MacBook is turned on and is running on the Feather SSD, go to Apple Support, then search for the Operating System you were previously running (would be either Mojave or Catalina).
- Once you find the right OS, you can download it to your MacBook.
- Once the download is complete, you can double-click the download and follow the on-screen prompts and it will upgrade your MacBook’s OS.
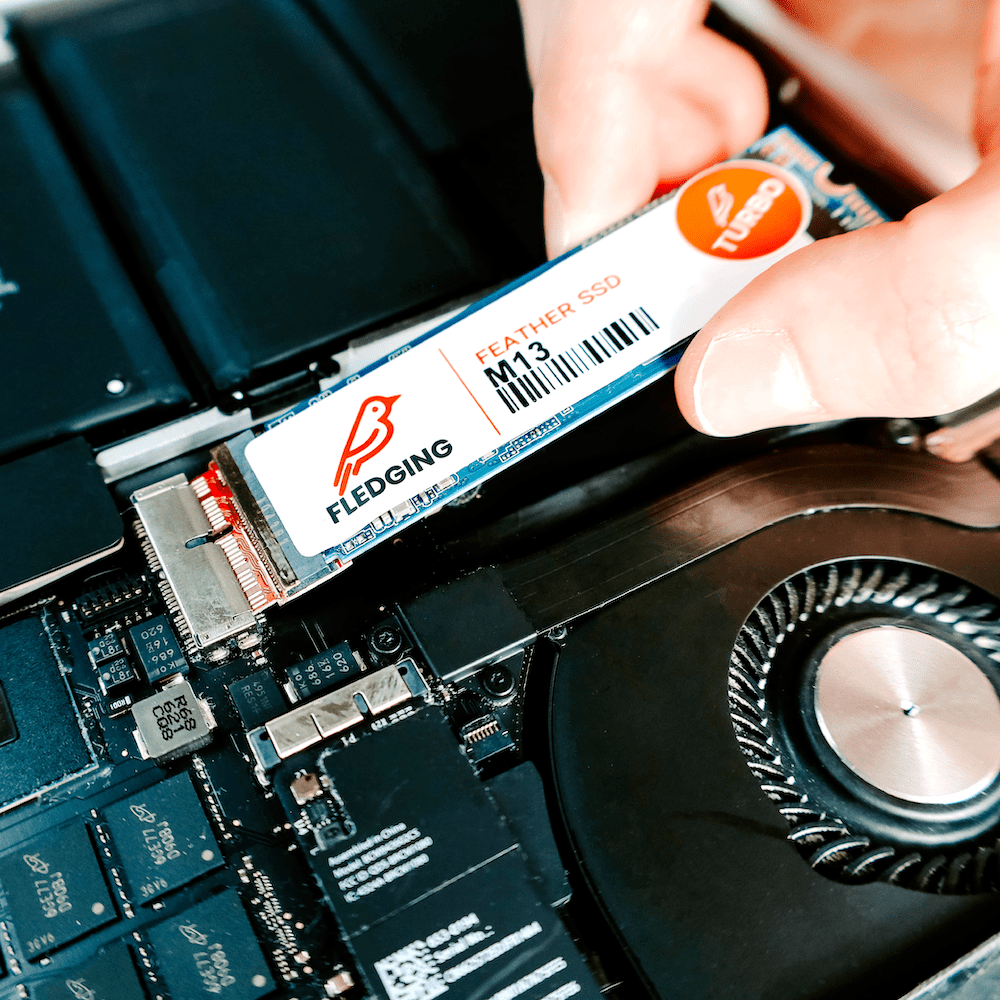
Installing Your Feather M13 SSD in Your MacBook
- Make sure your MacBook is running High Sierra or a newer OS.
- If your OEM SSD doesn't work. You can rent our Firmware Upgrade Kit to upgrade your MacBook to High Sierra or a newer OS.
- Backup your MacBook externally, using Time Machine.
- Power down your MacBook and make sure it is not plugged into the charger.
- Using the P5 screwdriver provided by Fledging, remove all of the screws from the back of your MacBook.
- Remove the back panel of your MacBook, starting near the hinge.
- Using the T5 screwdriver provided by Fledging, remove the SSD mounting screw.
- Gently pull out the old SSD.
- Insert Feather SSD and return the mounting screw.
- Place the back panel back on the MacBook and secure with screws.
- Press Power and let the MacBook turn on normally.
- If your backup was originally running High Sierra, plug in your external backup and restore your data using Migration Assistant.
- If your backup was originally running on Mojave, Catalina or a newer OS, upgrade to that newer OS and then plug in your external backup and restore your data using Migration Assistant.