Erasing, reformatting and then clean installing your operating system with a USB installer is our last resort if the SSD doesn't show up after quick troubleshooting, but it usually sets your computer up for complete success by giving you a truly blank slate.
Here's What to Do (Takes 30 Minutes)
- With your OEM plugged in, create a USB installer of your preferred OS (links that include tutorial videos below) on a flash drive that has at least 8GB of free space.
- After the installer is made, turn your computer off, and replace your Apple OEM with your new Feather SSD.
- Plug your installer into the computer.
- While holding down the OPTION key, press POWER and hold down OPTION until you hear chimes.
- Once booted, you should see a drive select screen. Select the USB installer you just made.
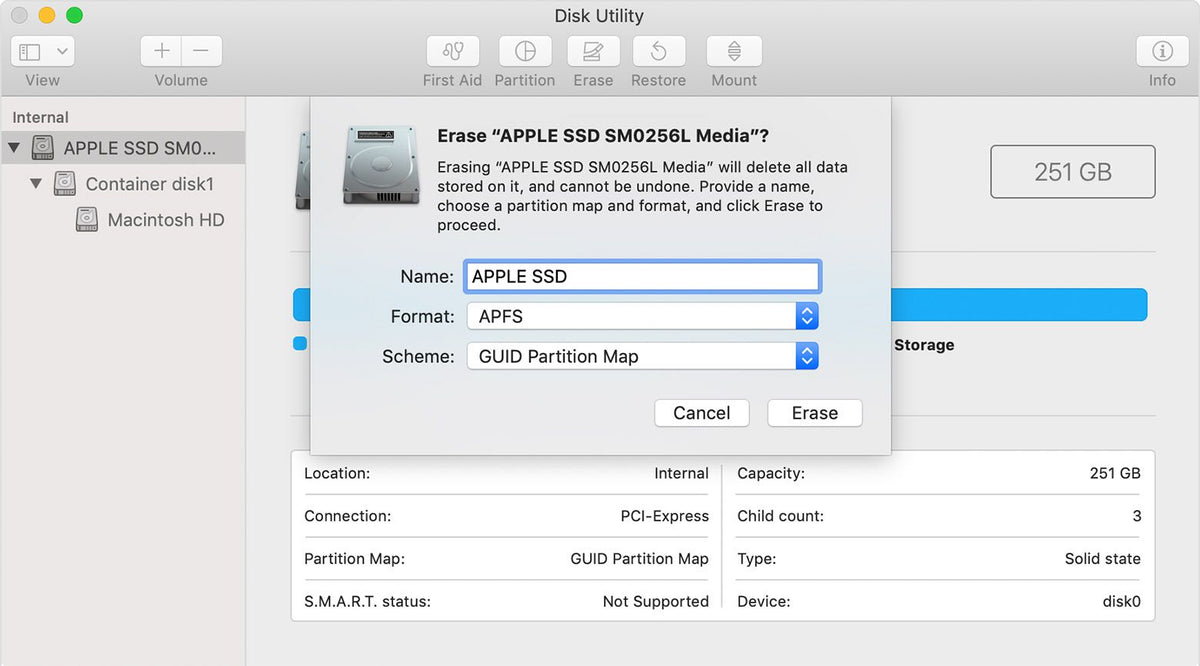
- Go to Disk Utility. Select the new Fledging Feather.
- Hit Erase in the top-middle of the Disk Utility window.
- Reformat the SSD.
- If you're using High Sierra, use macOS Extended (Journaled) with GUID Partition Map.
- If you're using Mojave, Catalina, or Big Sur, use APFS with GUID Partition Map.
- Note: If the drive won’t erase and reformat, try adding a partition to the drive. Then erase and format the drive as described above. Sometimes a computer needs to be "reminded" that it can make changes to the drive.
- Quit Disk Utility. This should place you at MacOS Utilities.
- Select Install MacintoshHD
- Select “Macintosh HD” as the destination to install your new OS, then choose “Install.” This will begin the process of clean installing the OS onto the Mac, it may take a while to complete.
- Your Mac will reboot itself automatically during the process, let it finish and do not interrupt the installation. After the clean install has completed, your Mac will boot back into a fresh and new installation of the MacOS, as if the computer were new.